![]()
![]()

Add progress bars to gifs!
Hacktoberfest! |
App Store Download |
About |
Features |
Usage |
Contributing |
License
Hacktoberfest
All contributions are welcome! Here are some issues to get started on:
- Make dark mode look better
- Display Gif size when export finishes
- Add haptic feedback when export finishes
- Plus button background doesn’t change when Dark Mode is toggled
Steps:
- Fork the repo
- Make your changes (just stick on the
mainbranch) - For how to clone into Xcode, see here
- Make a pull request
- Add yourself to the
Contributorsscreen in the app!let aheze = Contributor() aheze.name = "Zheng" aheze.additions = 199405 aheze.deletions = 29470 aheze.profileName = "ahezeProfile" /// name of your profile pic aheze.linkImageName = "Medium" if let profileURL = URL(string: "https://medium.com/@ahzzheng") { aheze.link = profileURL } contributors.append(aheze)
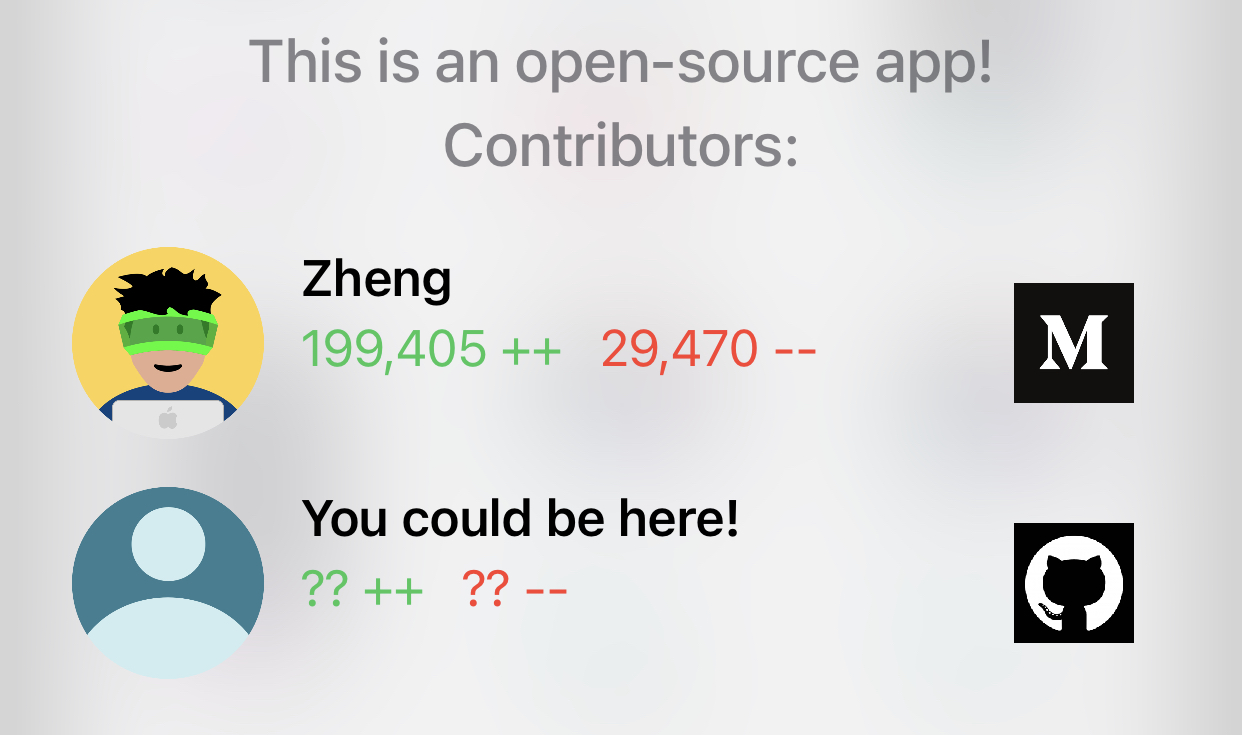
Don’t forget to add your profile pic inside Contributing.xcassets!
If you have any questions, feel free to open an issue, or leave a comment somewhere!
App Store Download
Download ProgressGif on the App Store. Because it’s open-source, it’s free!
About
For the writers and bloggers out there
Tutorials with only words are boring, so we add images. And if they need to be more detailed, we add video… but video isn’t always the best choice.
- Readers may not want to turn on audio
- If they’re on their phone, the video will open in a full-screen modal, which disrupts the reading experience
- Some blogging sites don’t allow video embeds
That’s why we use GIFs instead! (Yes, GIFs are memory-inefficient, but they’re really convenient, and ProgressGif has options for framerate)
ProgressGif is an iOS app made with Swift 5 and UIKit, inspired by this article. SwiftUI would have be fine for building the UI, but because there’s a lot of under-the-hood work with video rendering, I thought it would be better to just go with UIKit.
Features
ProgressGif does one thing only: Add progress bars to GIFs.
| Example 1 | Example 2 | Example 3 | Example 4 | Example 5 | Example 6 |
|---|---|---|---|---|---|
 |
 |
 |
 |
 |
 |
Yeah, that’s it. ProgressGif serves one purpose, and one purpose only… but in a highly customizable way! Customize height, bar color, bar background color, edge inset, corner radius… and shadows are in beta!
Usage
| Step 1 | Step 2 | Step 3 |
|---|---|---|
| Import video | Add the bar | Export |
 |
 |
 |
GIFs generated by ProgressGif
Contributing
Once again, all contributions are welcome! Here’s some harder issues that I need help on:
- Horizontal layout
- Allow picking colors with transparency
- Allow picking opaque color for background (so that shadows show up)
- Export as MOV instead of just GIF only
Development
- Open Xcode’s Welcome to Xcode screen (Window > Welcome to Xcode)
- Click “Clone an existing project”
- Enter the repository URL into the text field, then press “clone” (just stay on the
mainbranch) - Open a terminal, and navigate to the project directory, where the
.xcodeprojfile is - If you haven’t already, download CocoaPods by typing in
sudo gem install cocoapodsin the terminal - Type
pod installto install the dependencies - Open the
.xcworkspacefile - Use the
.xcworkspacefile to write your code in
ProgressGif is inspired by this awesome article.
License
MIT License

Copyright (c) 2020 Zheng

Permission is hereby granted, free of charge, to any person obtaining a copy
of this software and associated documentation files (the "Software"), to deal
in the Software without restriction, including without limitation the rights
to use, copy, modify, merge, publish, distribute, sublicense, and/or sell
copies of the Software, and to permit persons to whom the Software is
furnished to do so, subject to the following conditions:

The above copyright notice and this permission notice shall be included in all
copies or substantial portions of the Software.

THE SOFTWARE IS PROVIDED "AS IS", WITHOUT WARRANTY OF ANY KIND, EXPRESS OR
IMPLIED, INCLUDING BUT NOT LIMITED TO THE WARRANTIES OF MERCHANTABILITY,
FITNESS FOR A PARTICULAR PURPOSE AND NONINFRINGEMENT. IN NO EVENT SHALL THE
AUTHORS OR COPYRIGHT HOLDERS BE LIABLE FOR ANY CLAIM, DAMAGES OR OTHER
LIABILITY, WHETHER IN AN ACTION OF CONTRACT, TORT OR OTHERWISE, ARISING FROM,
OUT OF OR IN CONNECTION WITH THE SOFTWARE OR THE USE OR OTHER DEALINGS IN THE
SOFTWARE.